
Lighting Workflow and Process
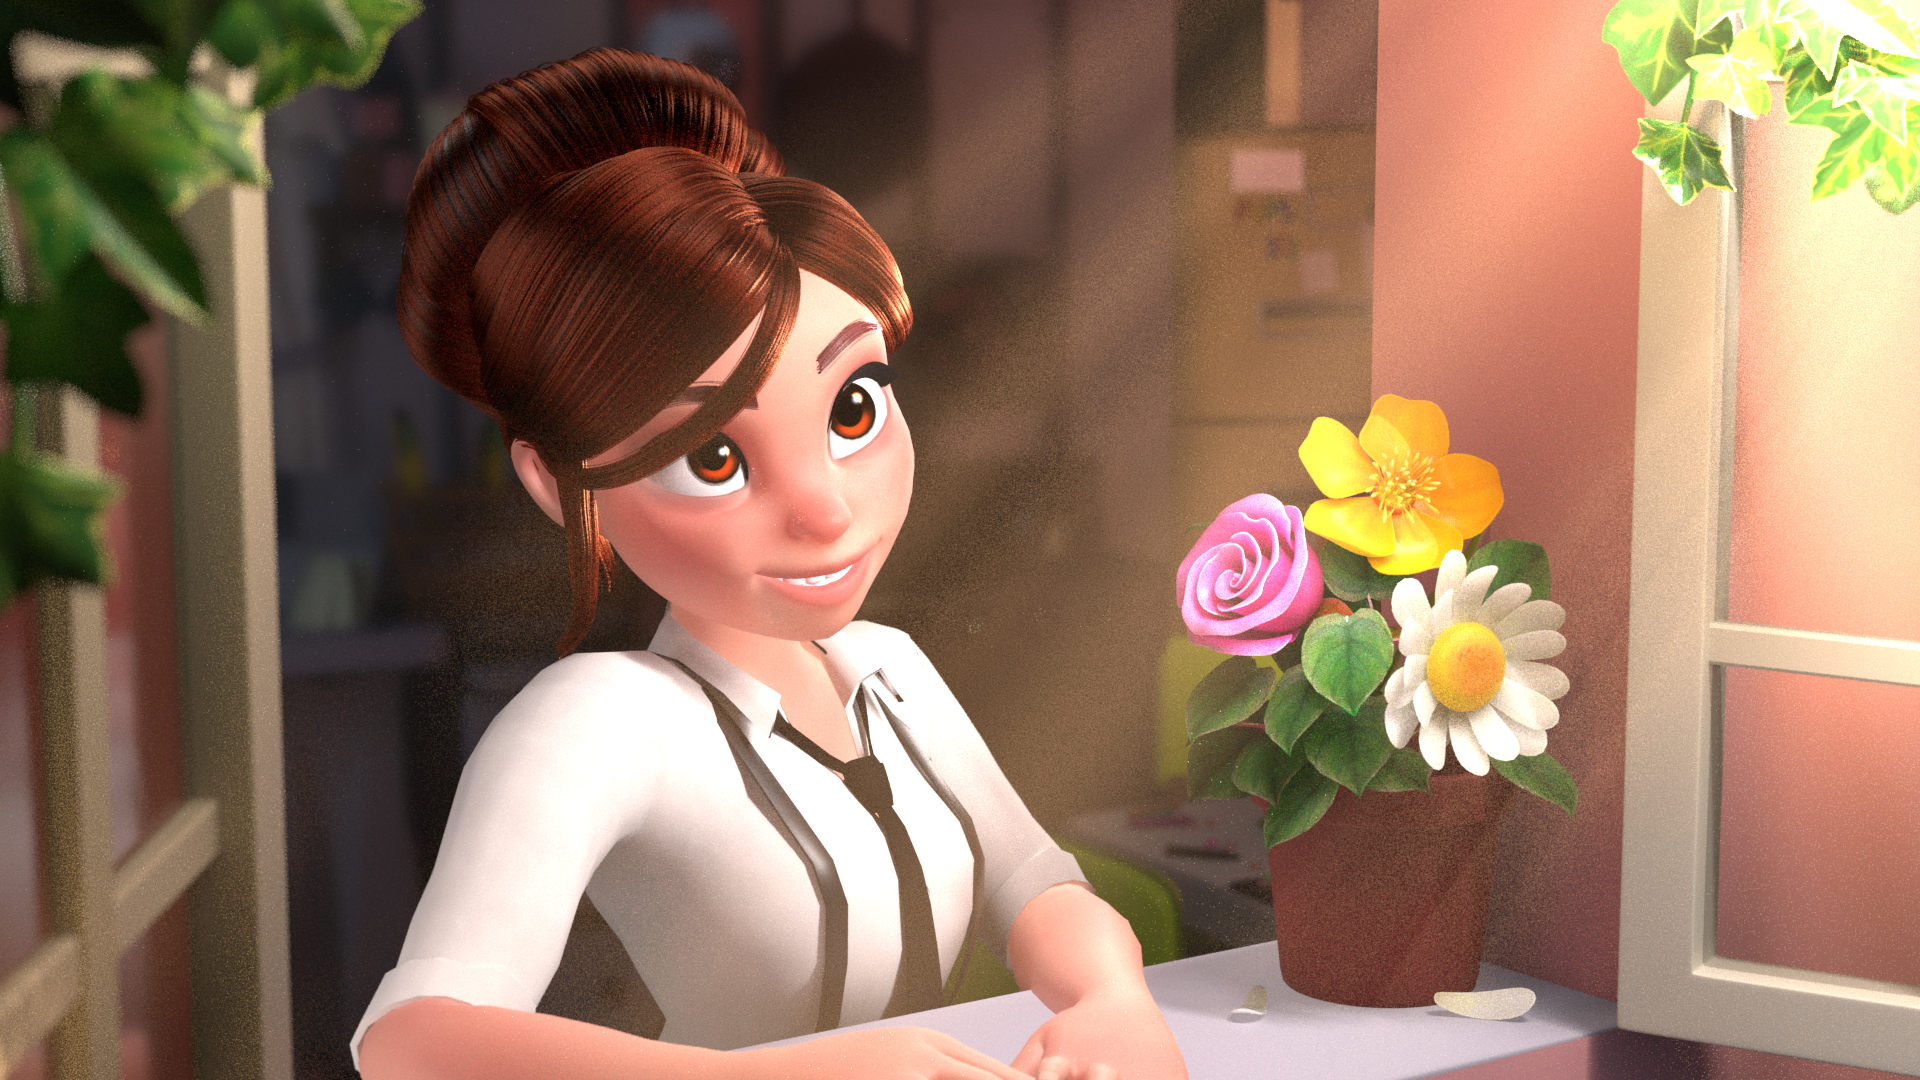
”HANNA” Movie Still Relight
For this piece, I wanted to dive into realistic lighting by recreating a shot from HANNA. I built a MetaHuman in Unreal, inspired by the actress and focused on matching the lighting from the original scene. The goal was to better understand how professional cinematography uses light to shape mood and realism.
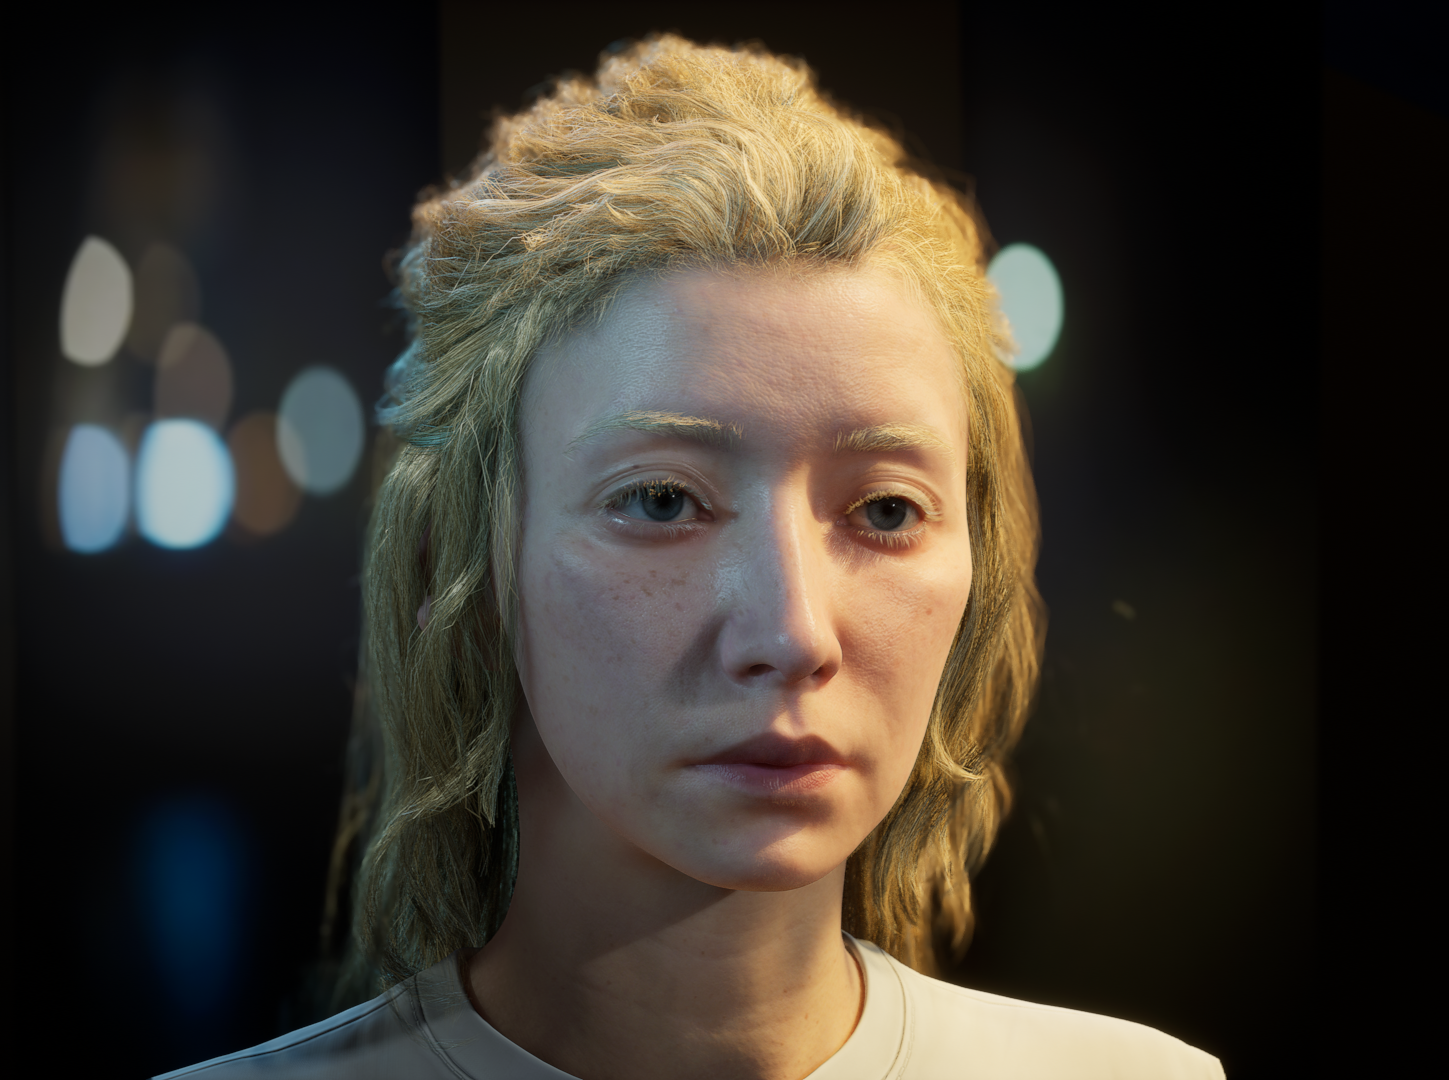
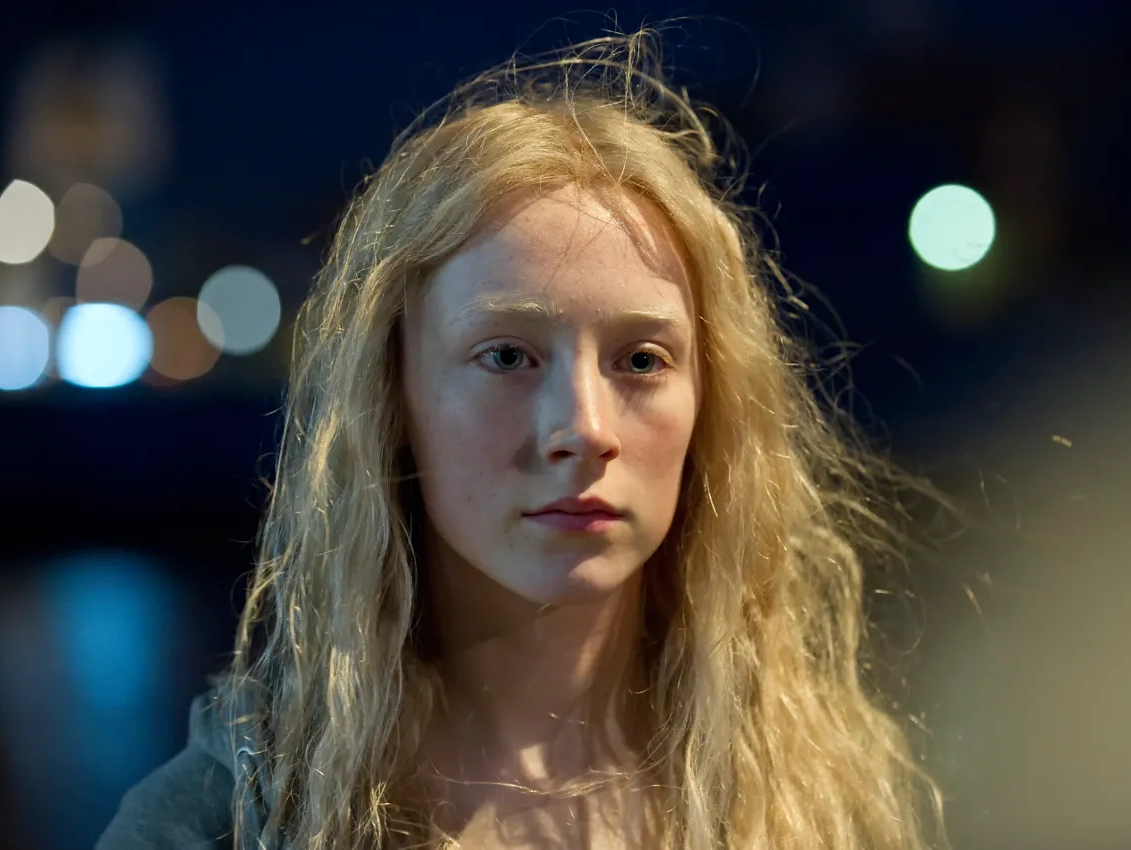
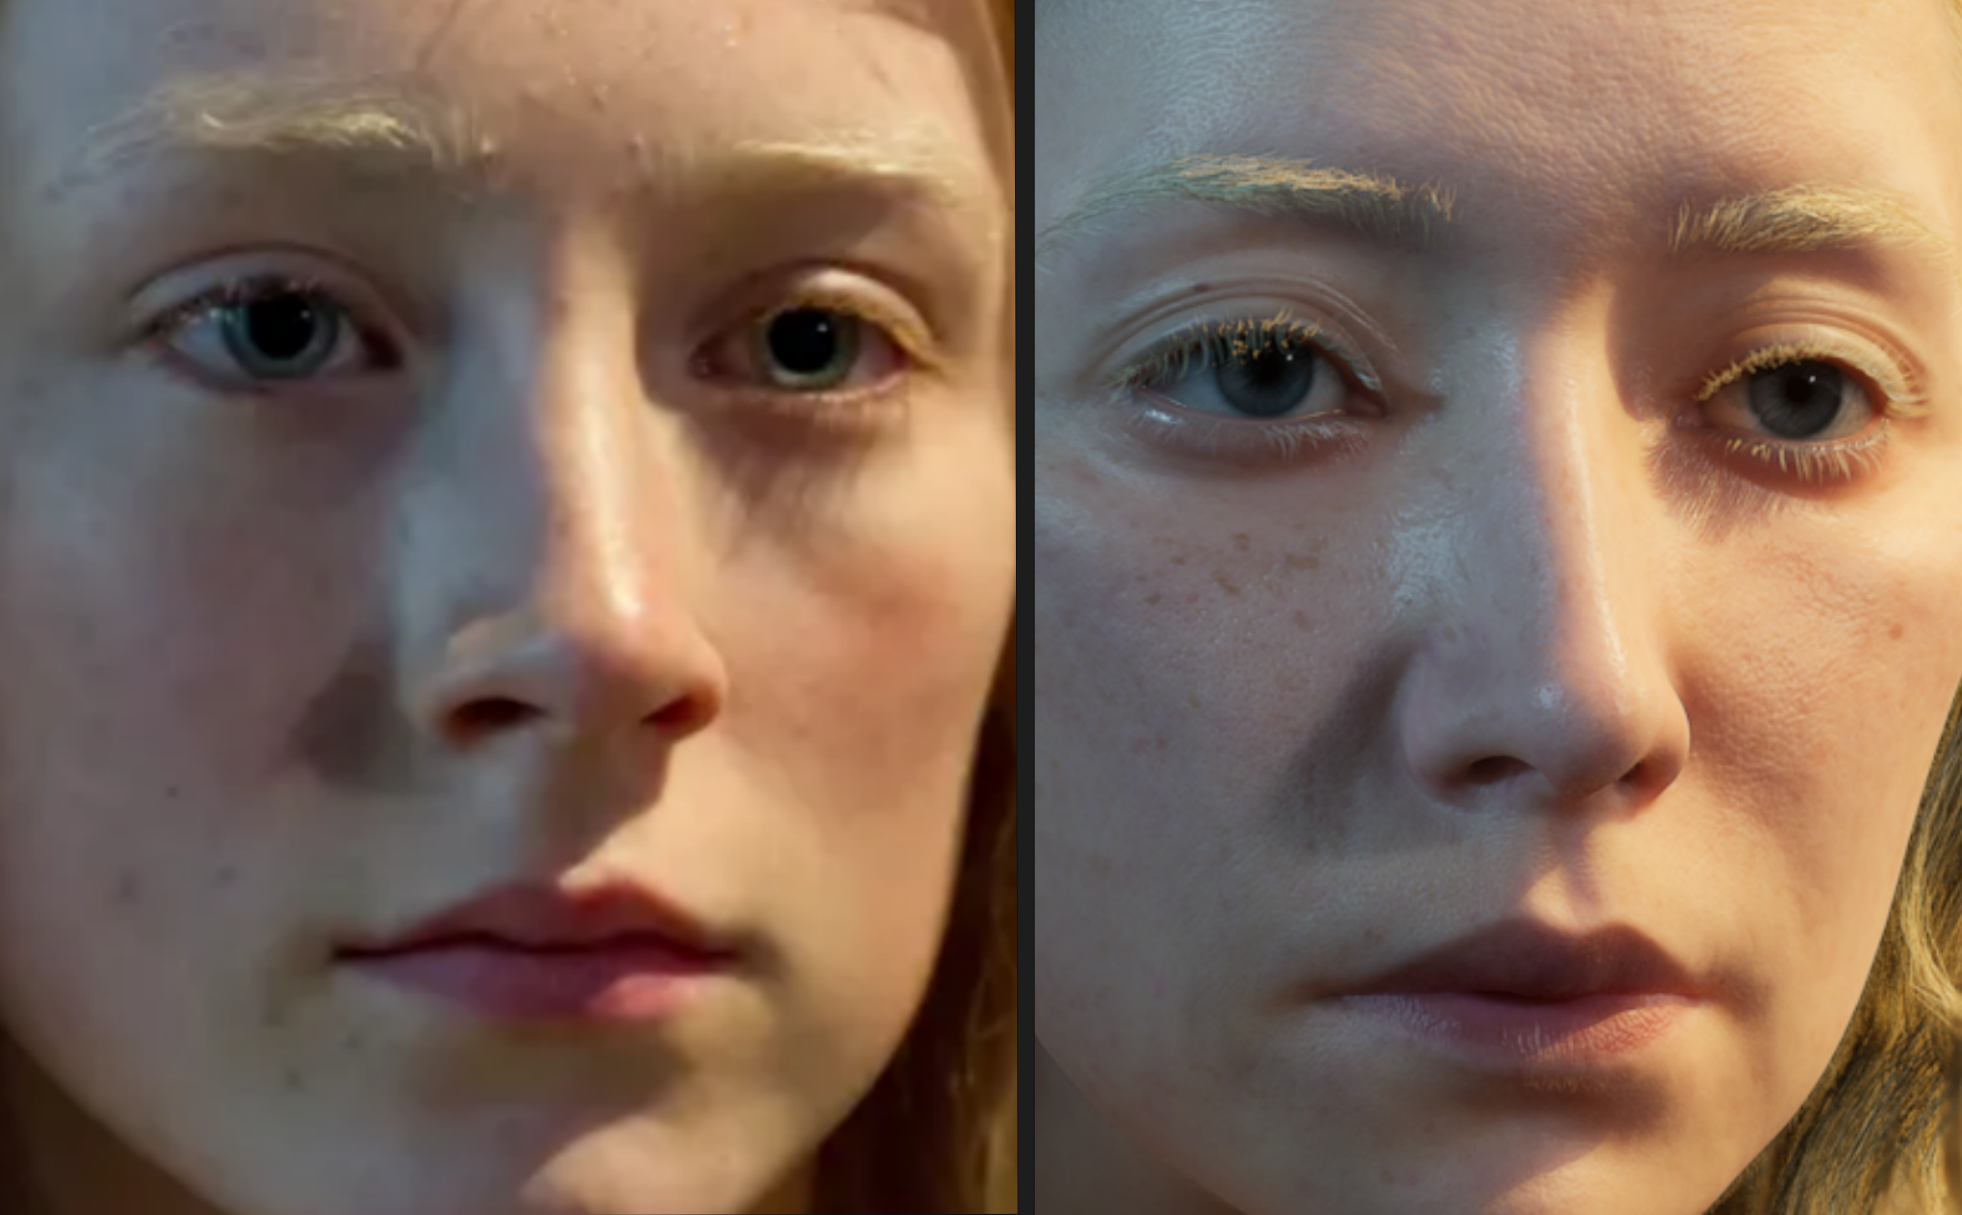
This project took a lot of small tweaks to get the lighting to feel right. I adjusted the main directional light for the key and spent a good amount of time balancing the subtle blue fill, which was trickier than expected. One of my favorite details is the eyelash shadow on the cheek. It really helps bring the render to life!
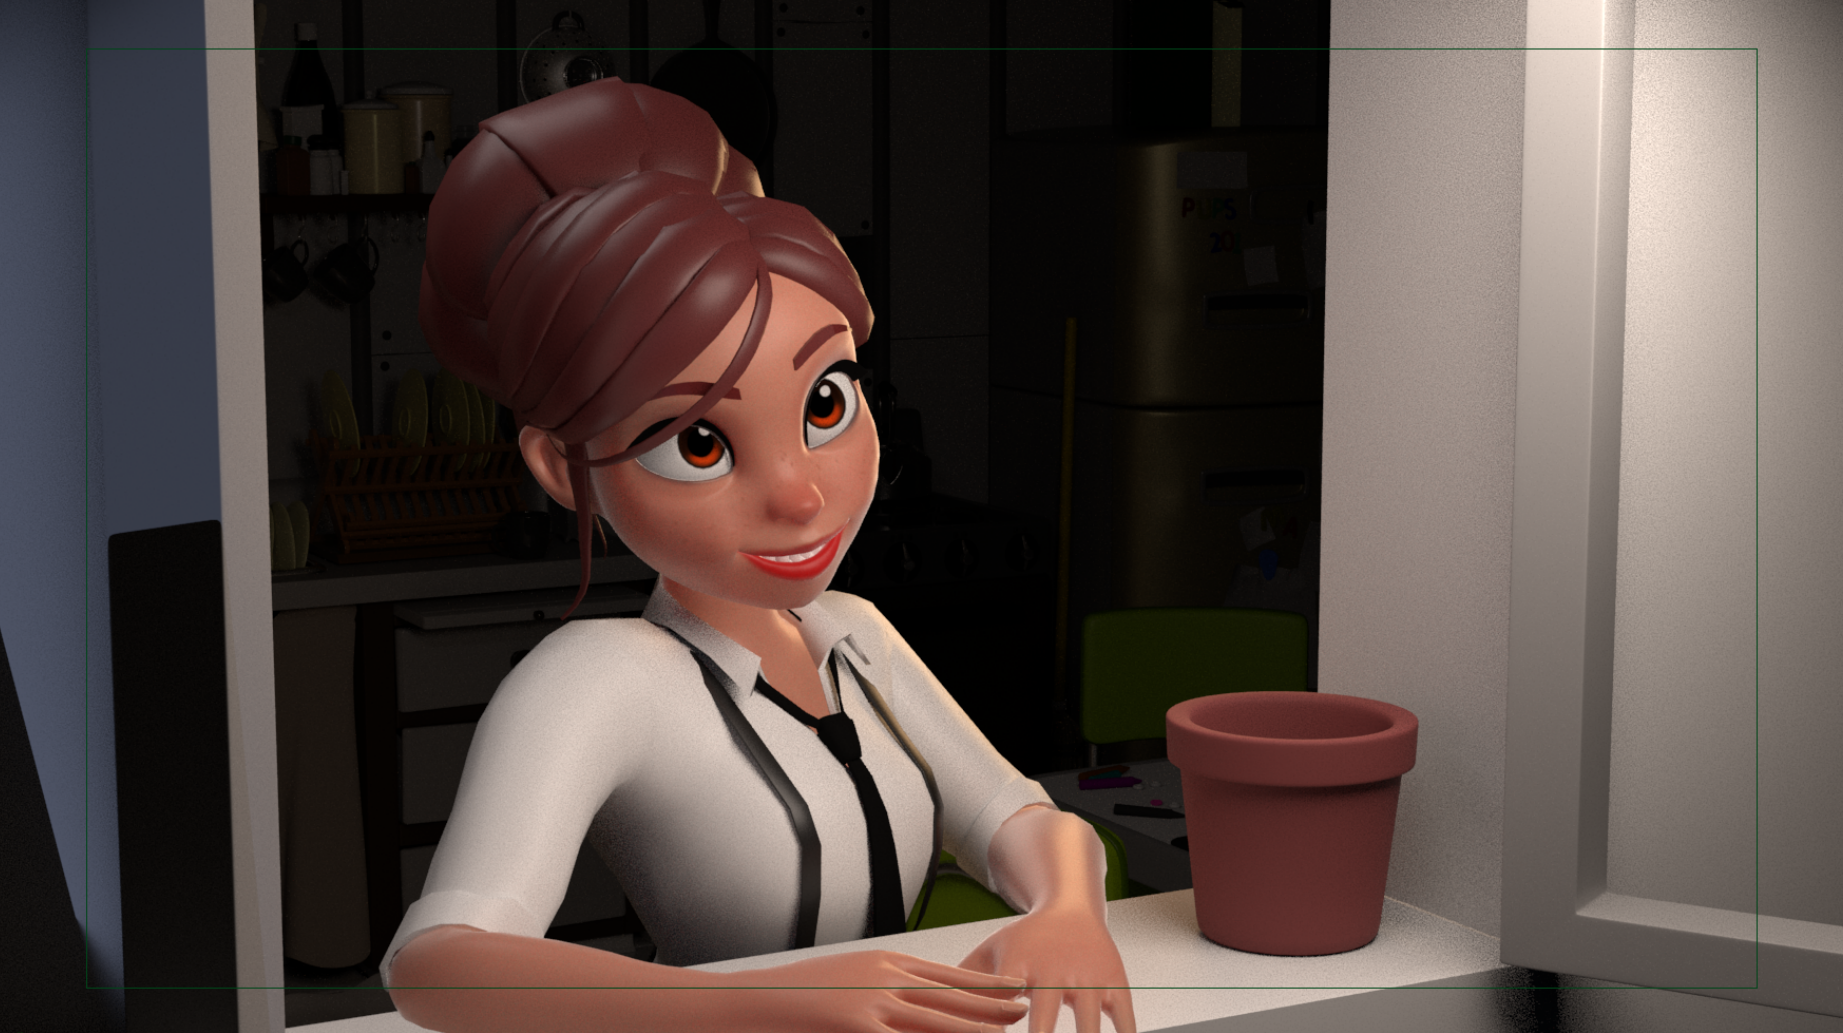
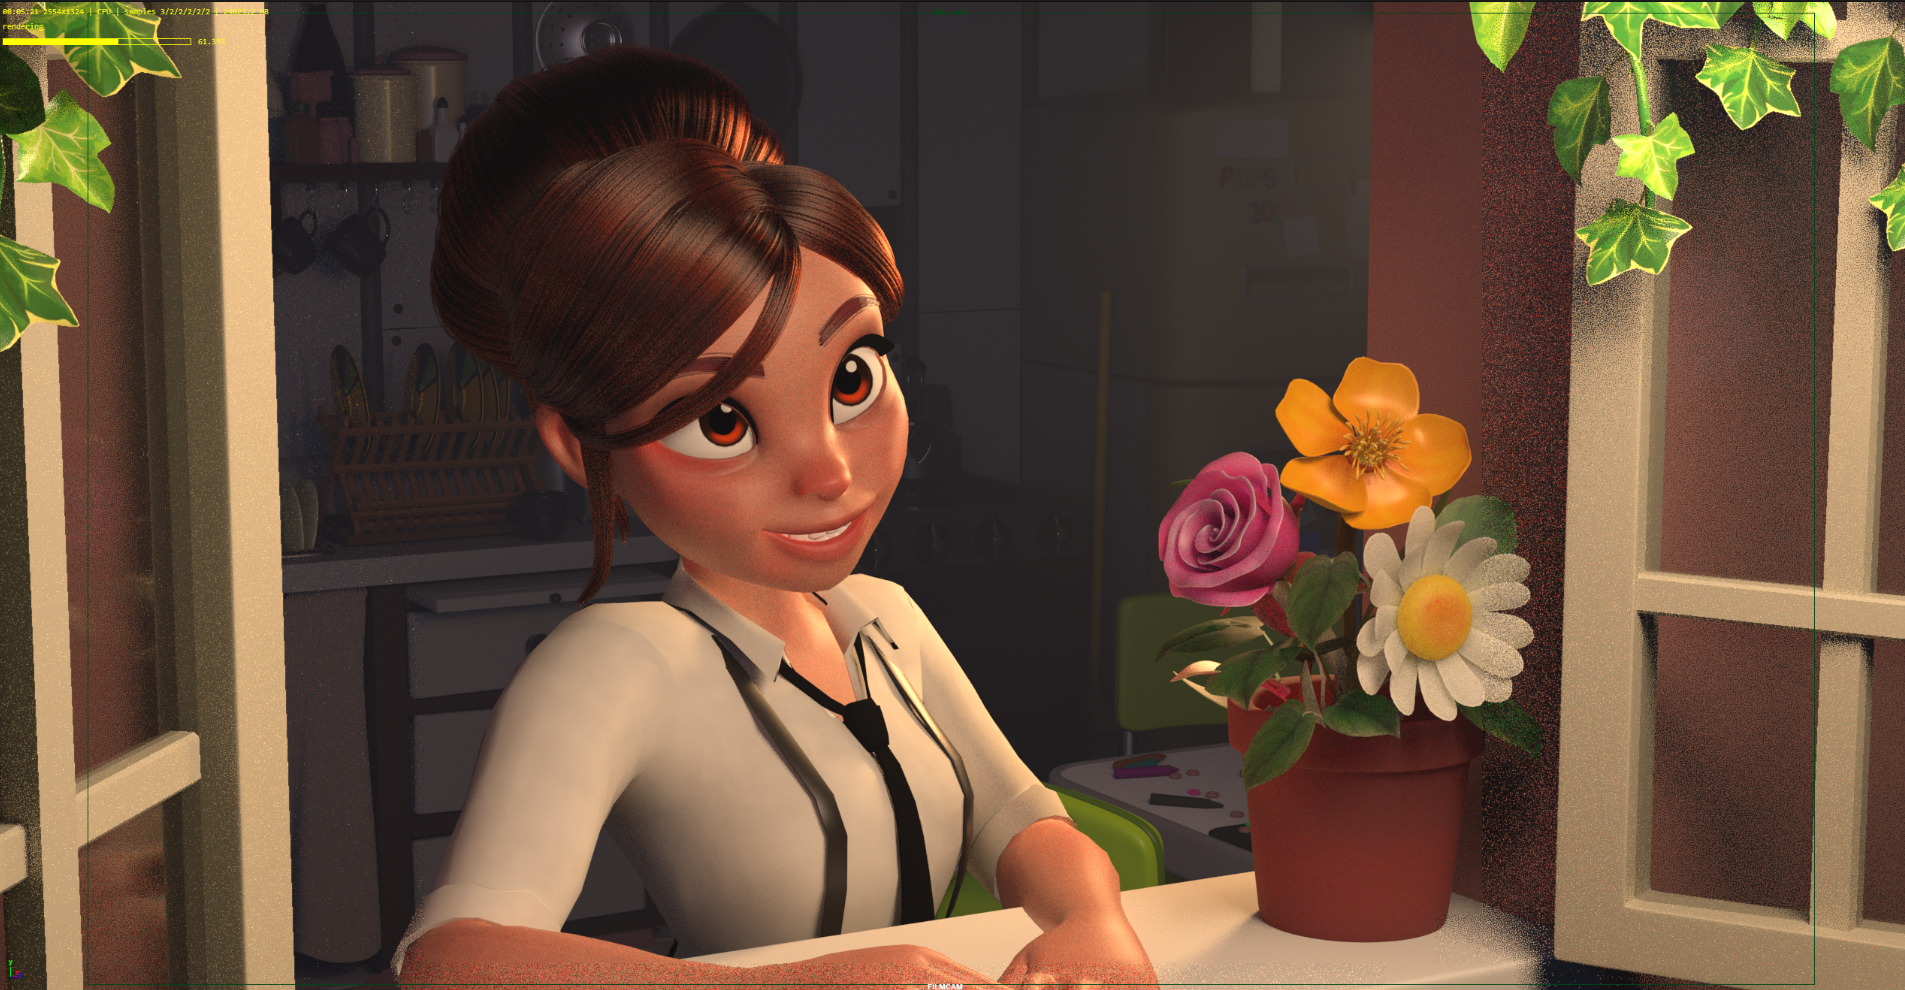
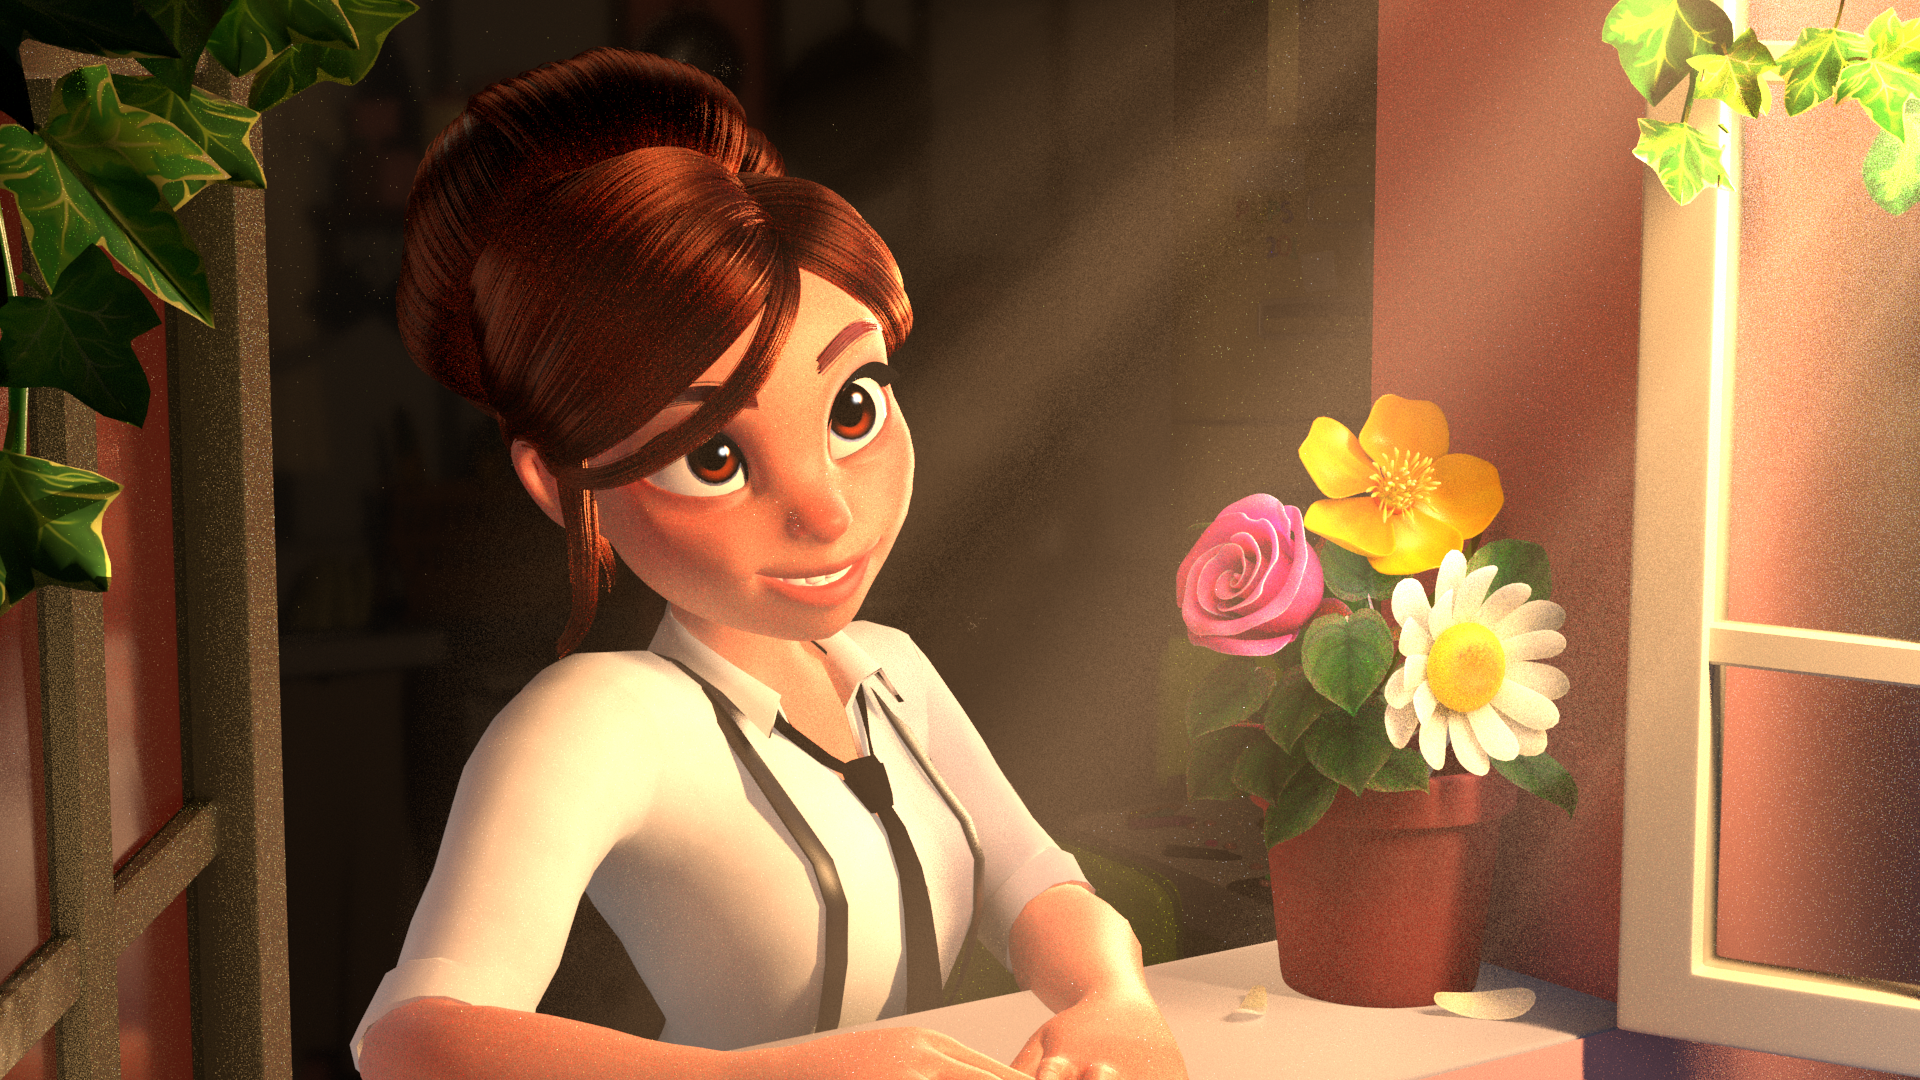
Lighting Workflow and Process
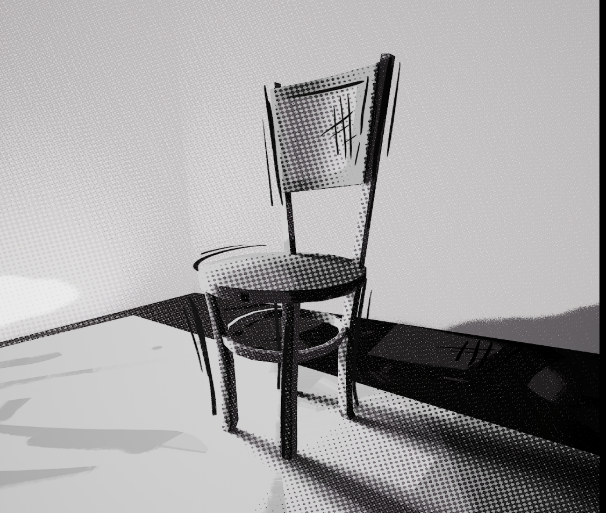
”The Window” Work In Progress Piece Using Maya and Arnold

Initial Sketch and Inspiration
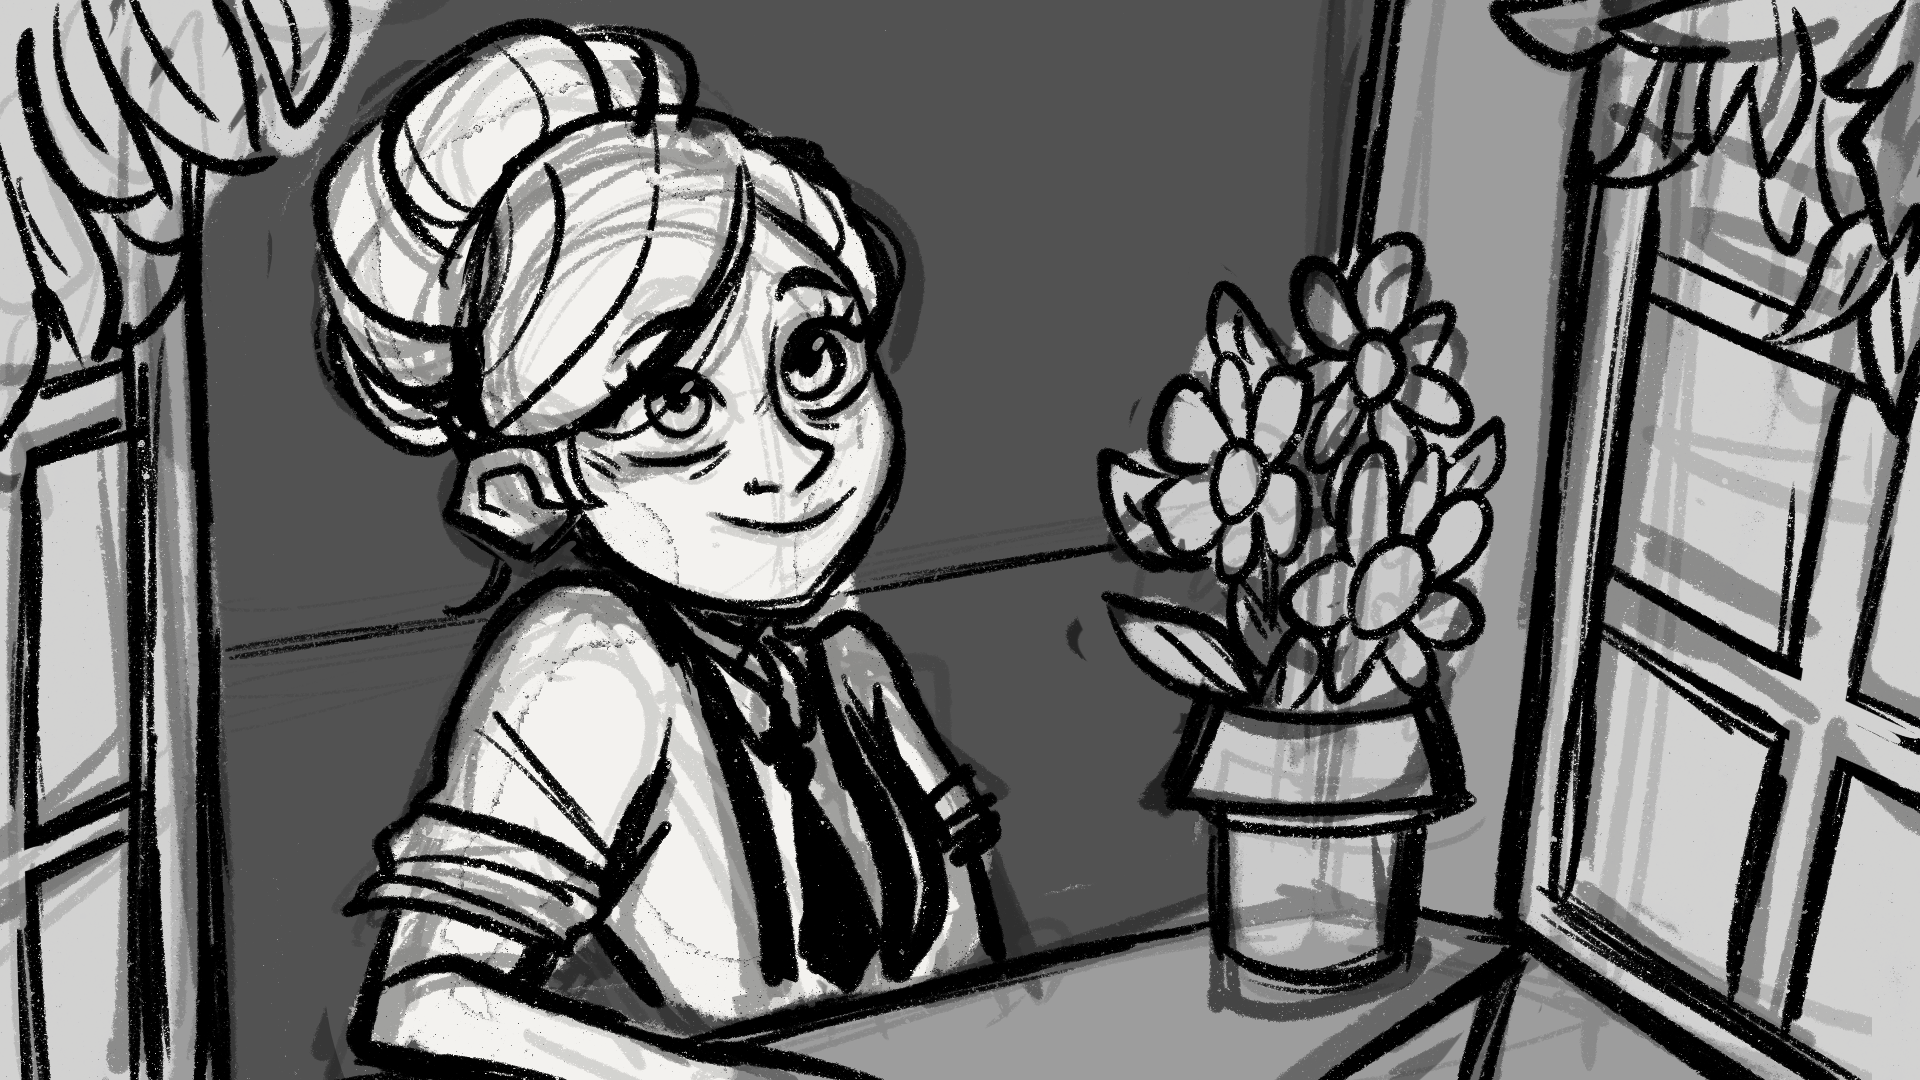
I begin by sketching a rough layout to explore composition and framing. After that, I collect reference images to ground the scene and guide design decisions. Using these references, I create a simple blockout, where I scale, place, and structure the scene before moving on.
Lighting, Texturing, and Blocking
I begin with an initial texture and lighting pass to get a sense of how the scene is coming together, focusing on the overall blocking. Once the scene feels cohesive, I do a second lighting pass to push closer to my references and target mood.
During this stage, I continue adjusting textures and look development as needed, building the scene starting with large, blocky value groups.
When the textures are in a solid place, I focus on refining the lighting by shaping forms, balancing color temperature, values, and saturation, and using light and dark contrast to help the character stand out.
I share progress shots with other professionals and peers to get feedback and fresh perspectives, alongside doing my own rounds of self-critique.
I iterate on the piece based on the notes I get until it feels cohesive. While this piece isn’t fully finished, it’s meant to give a peek into my thought process and how I approach lighting a shot.
Feedback, Iteration, and Polish
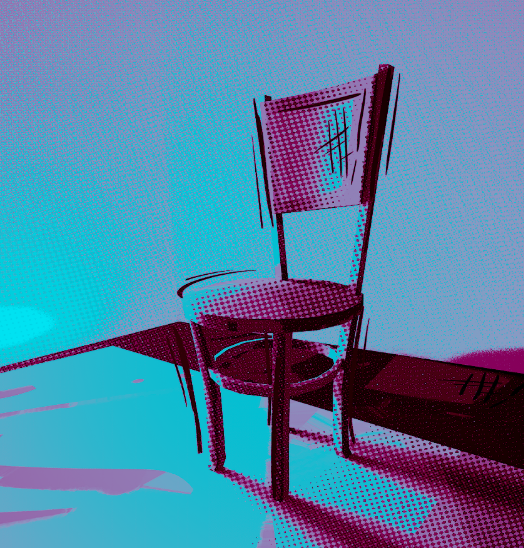
Where I am currently at in the process
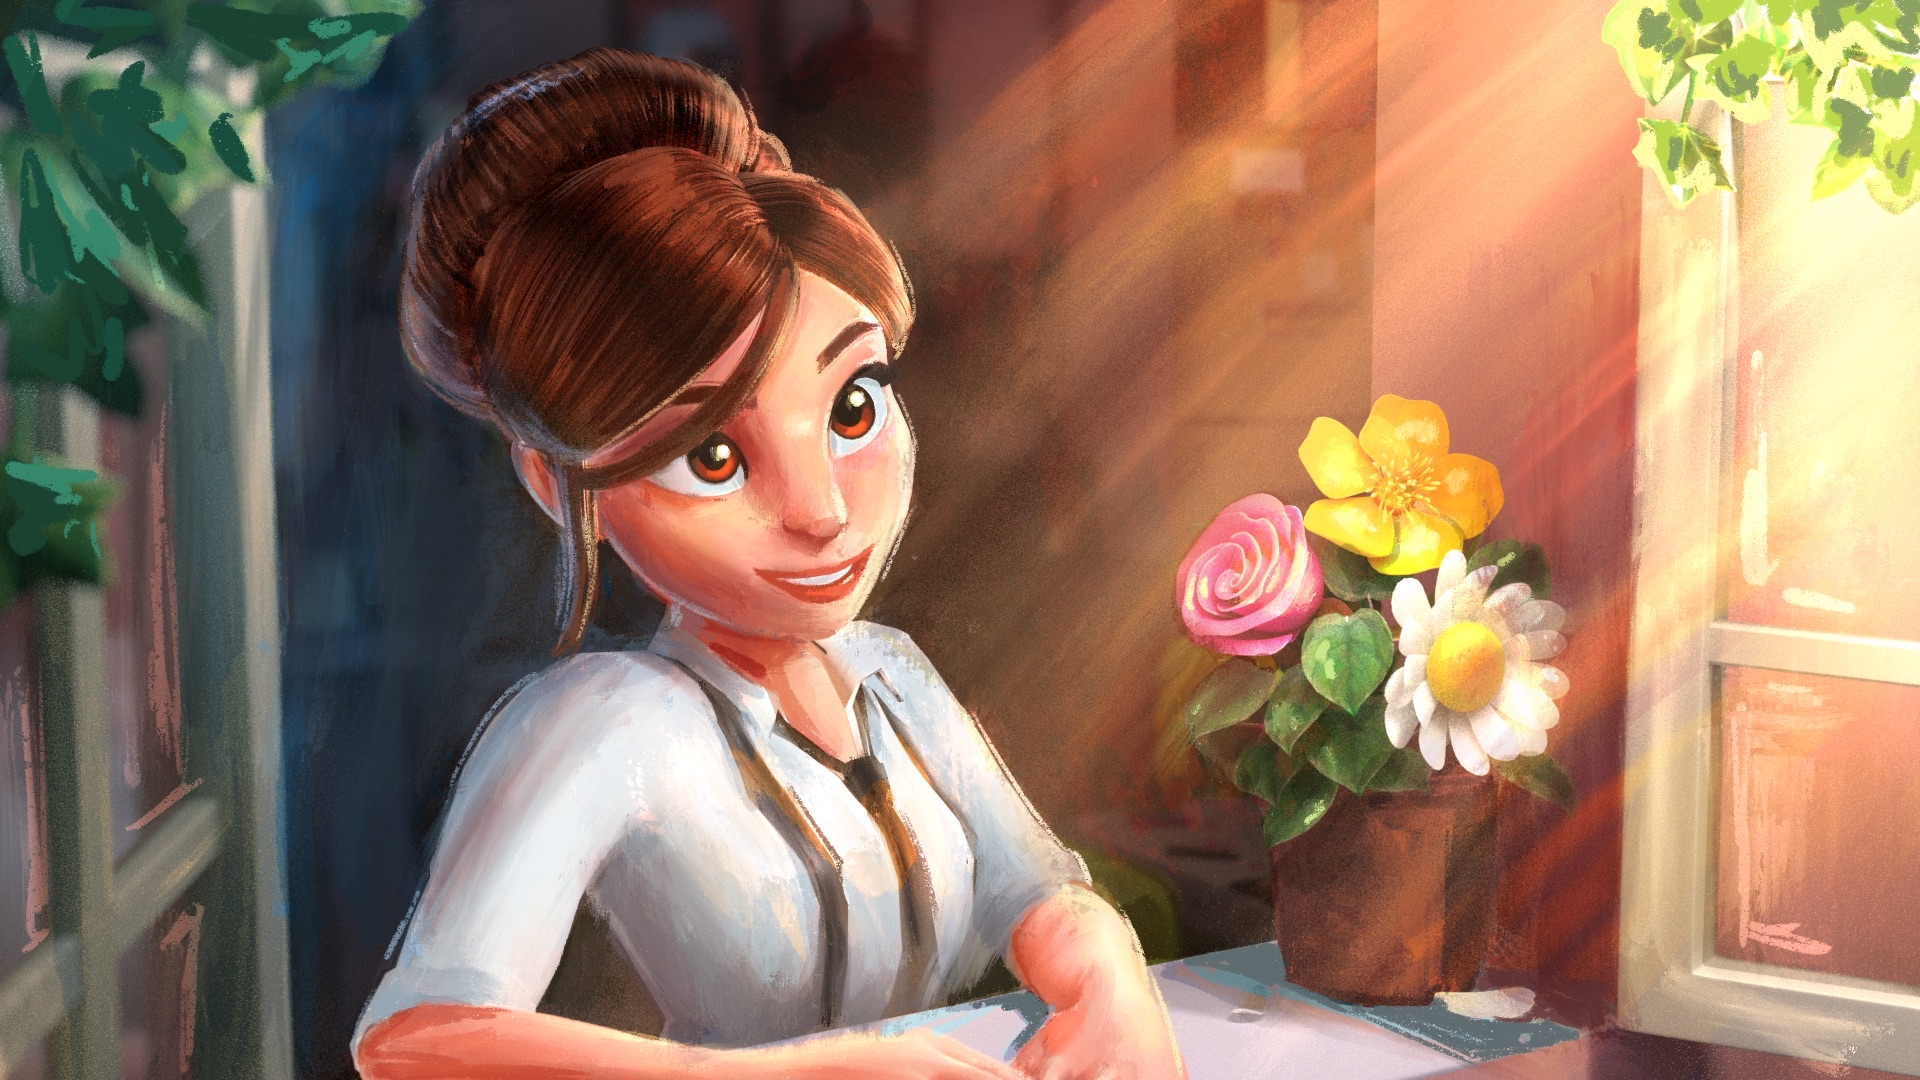
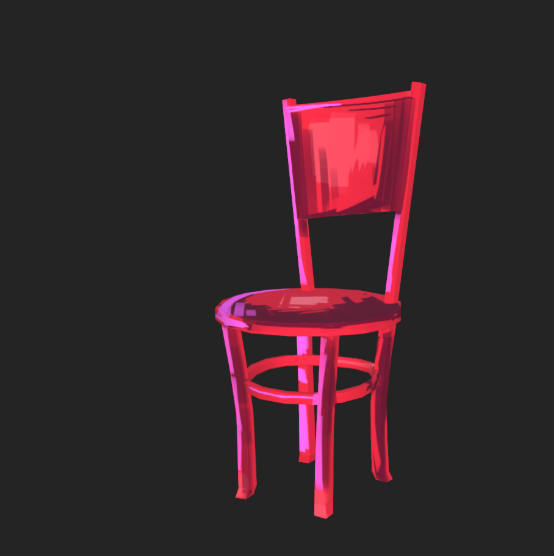
My draw over of what I want the final image to look like
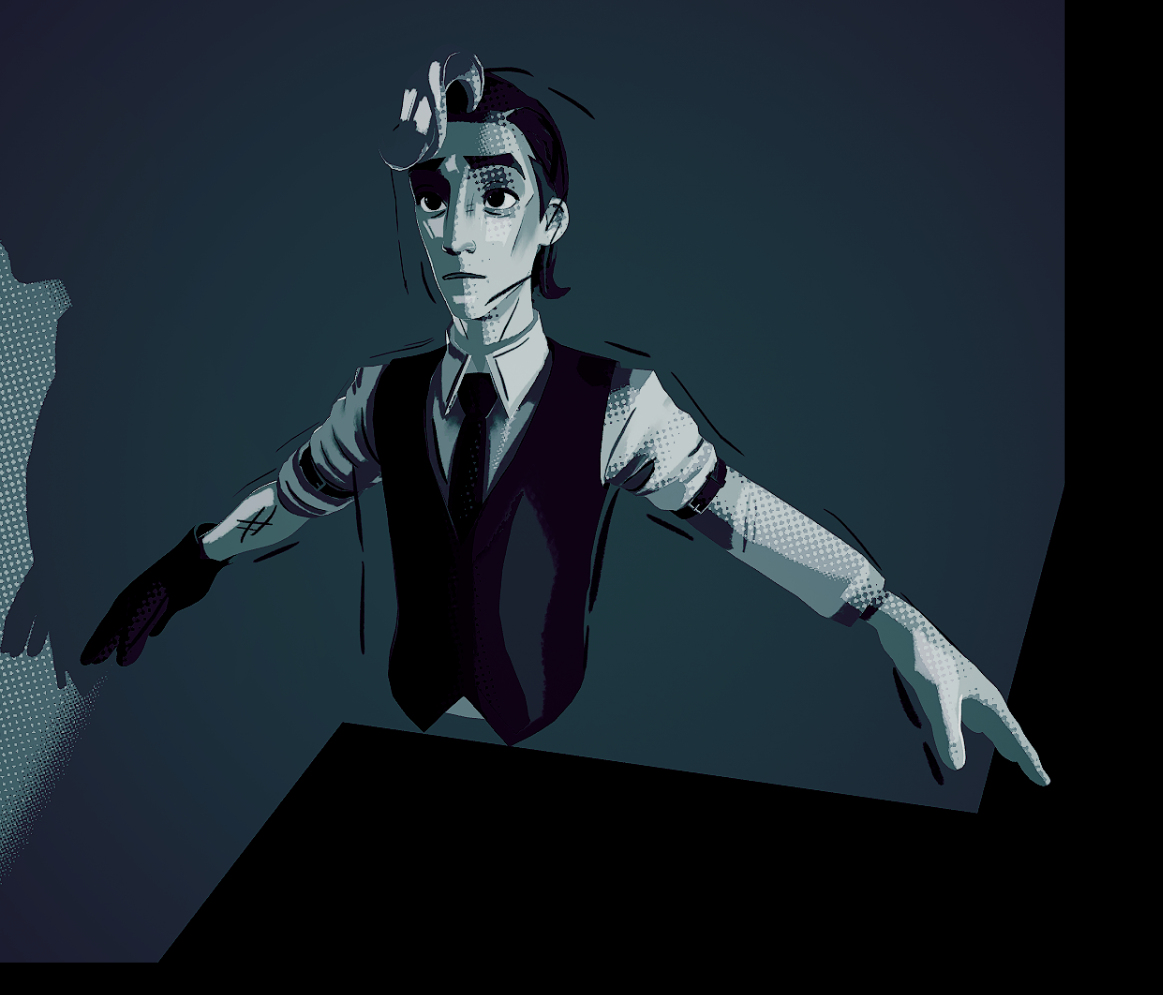
Artistic Process on Franken Struck
Style Frames and Color Script
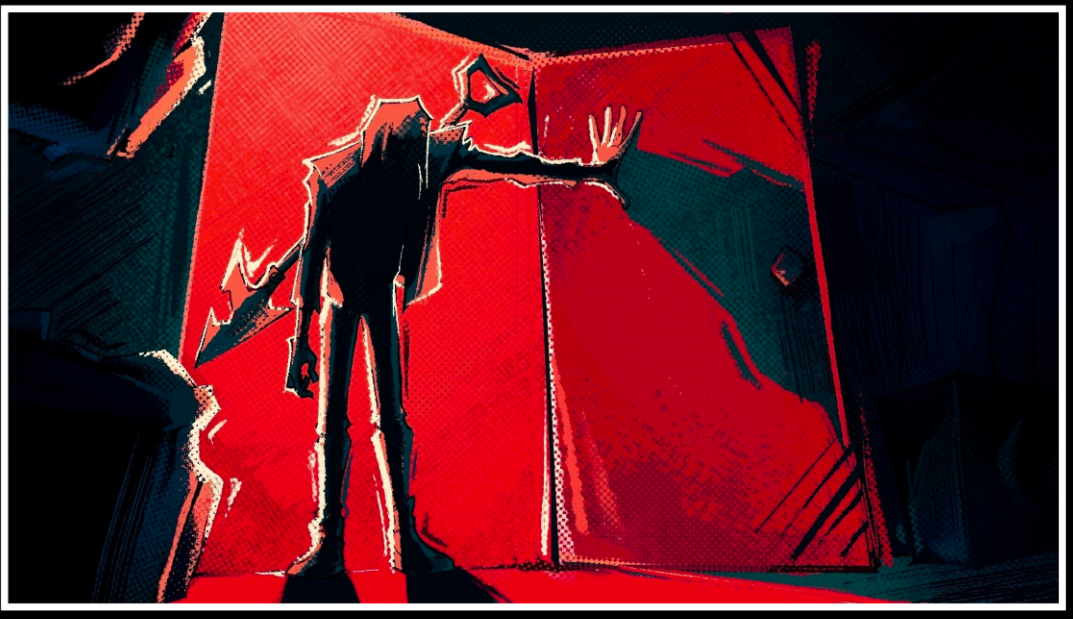
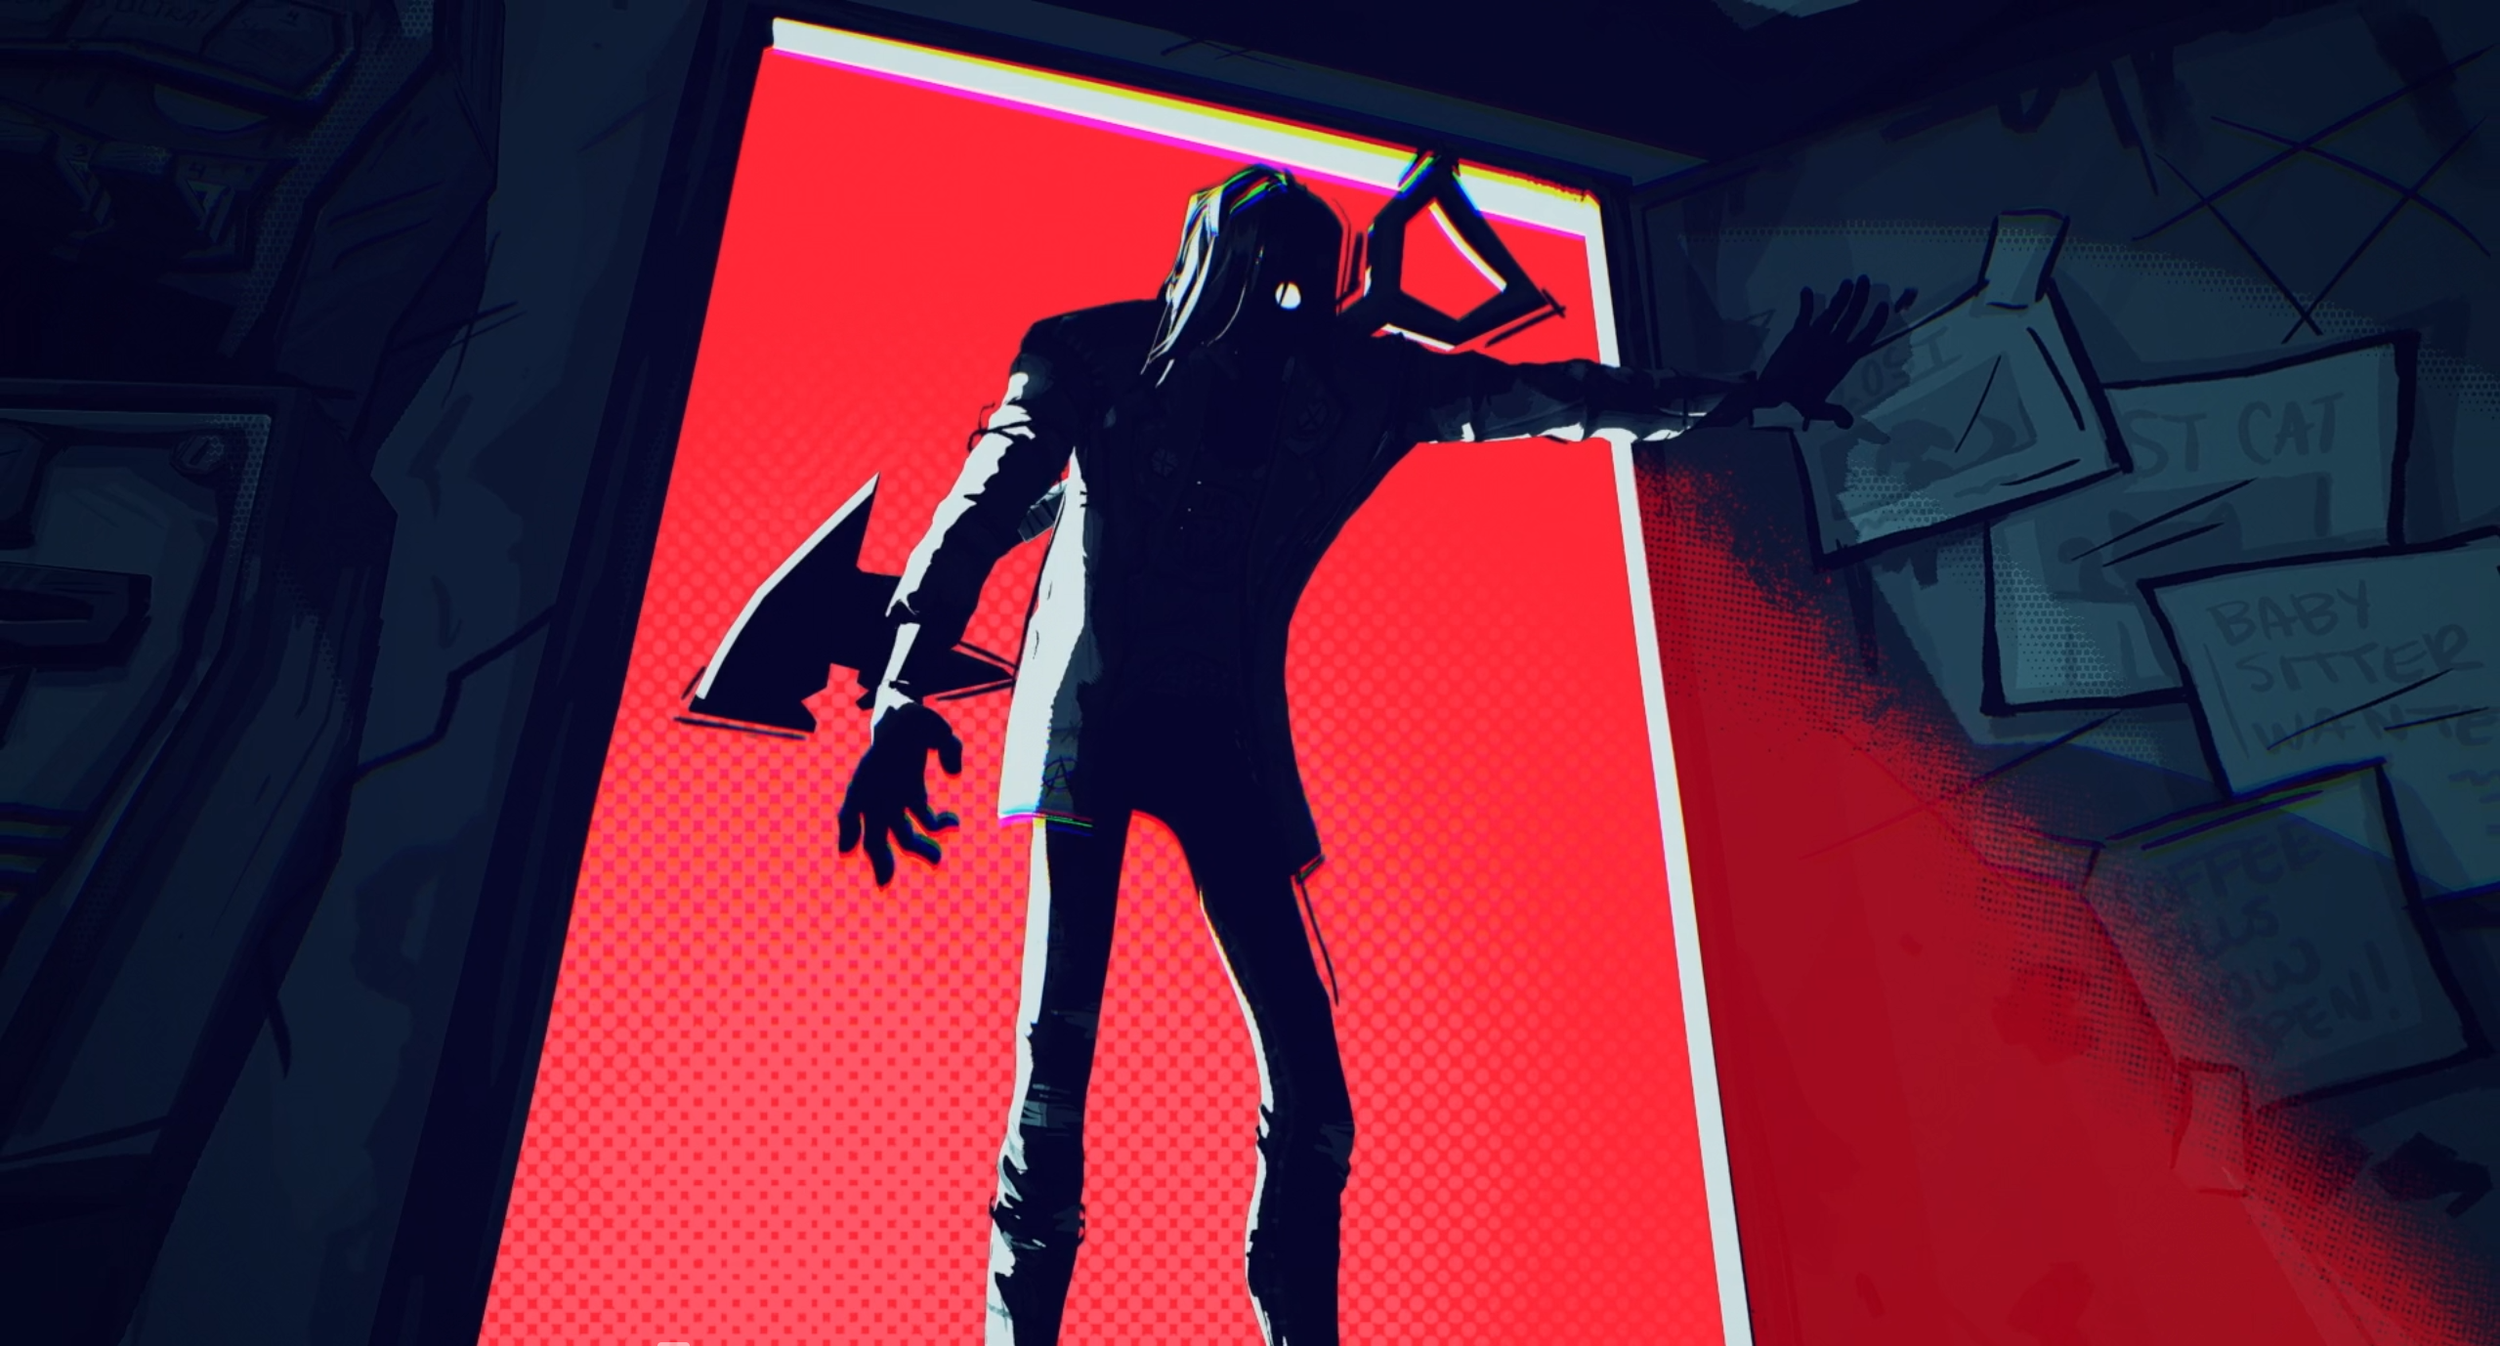
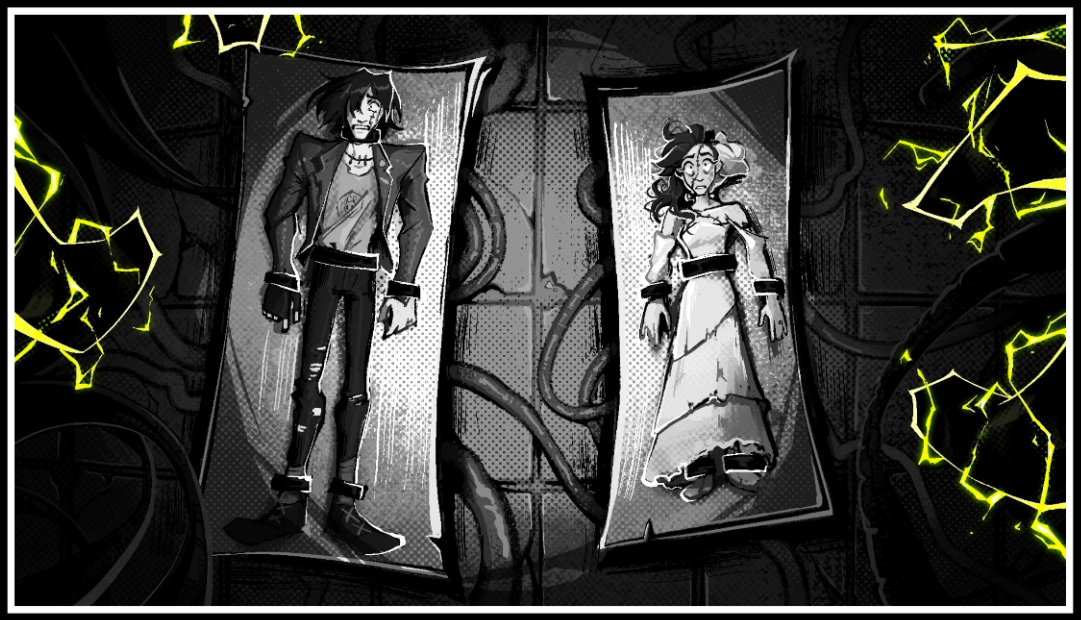
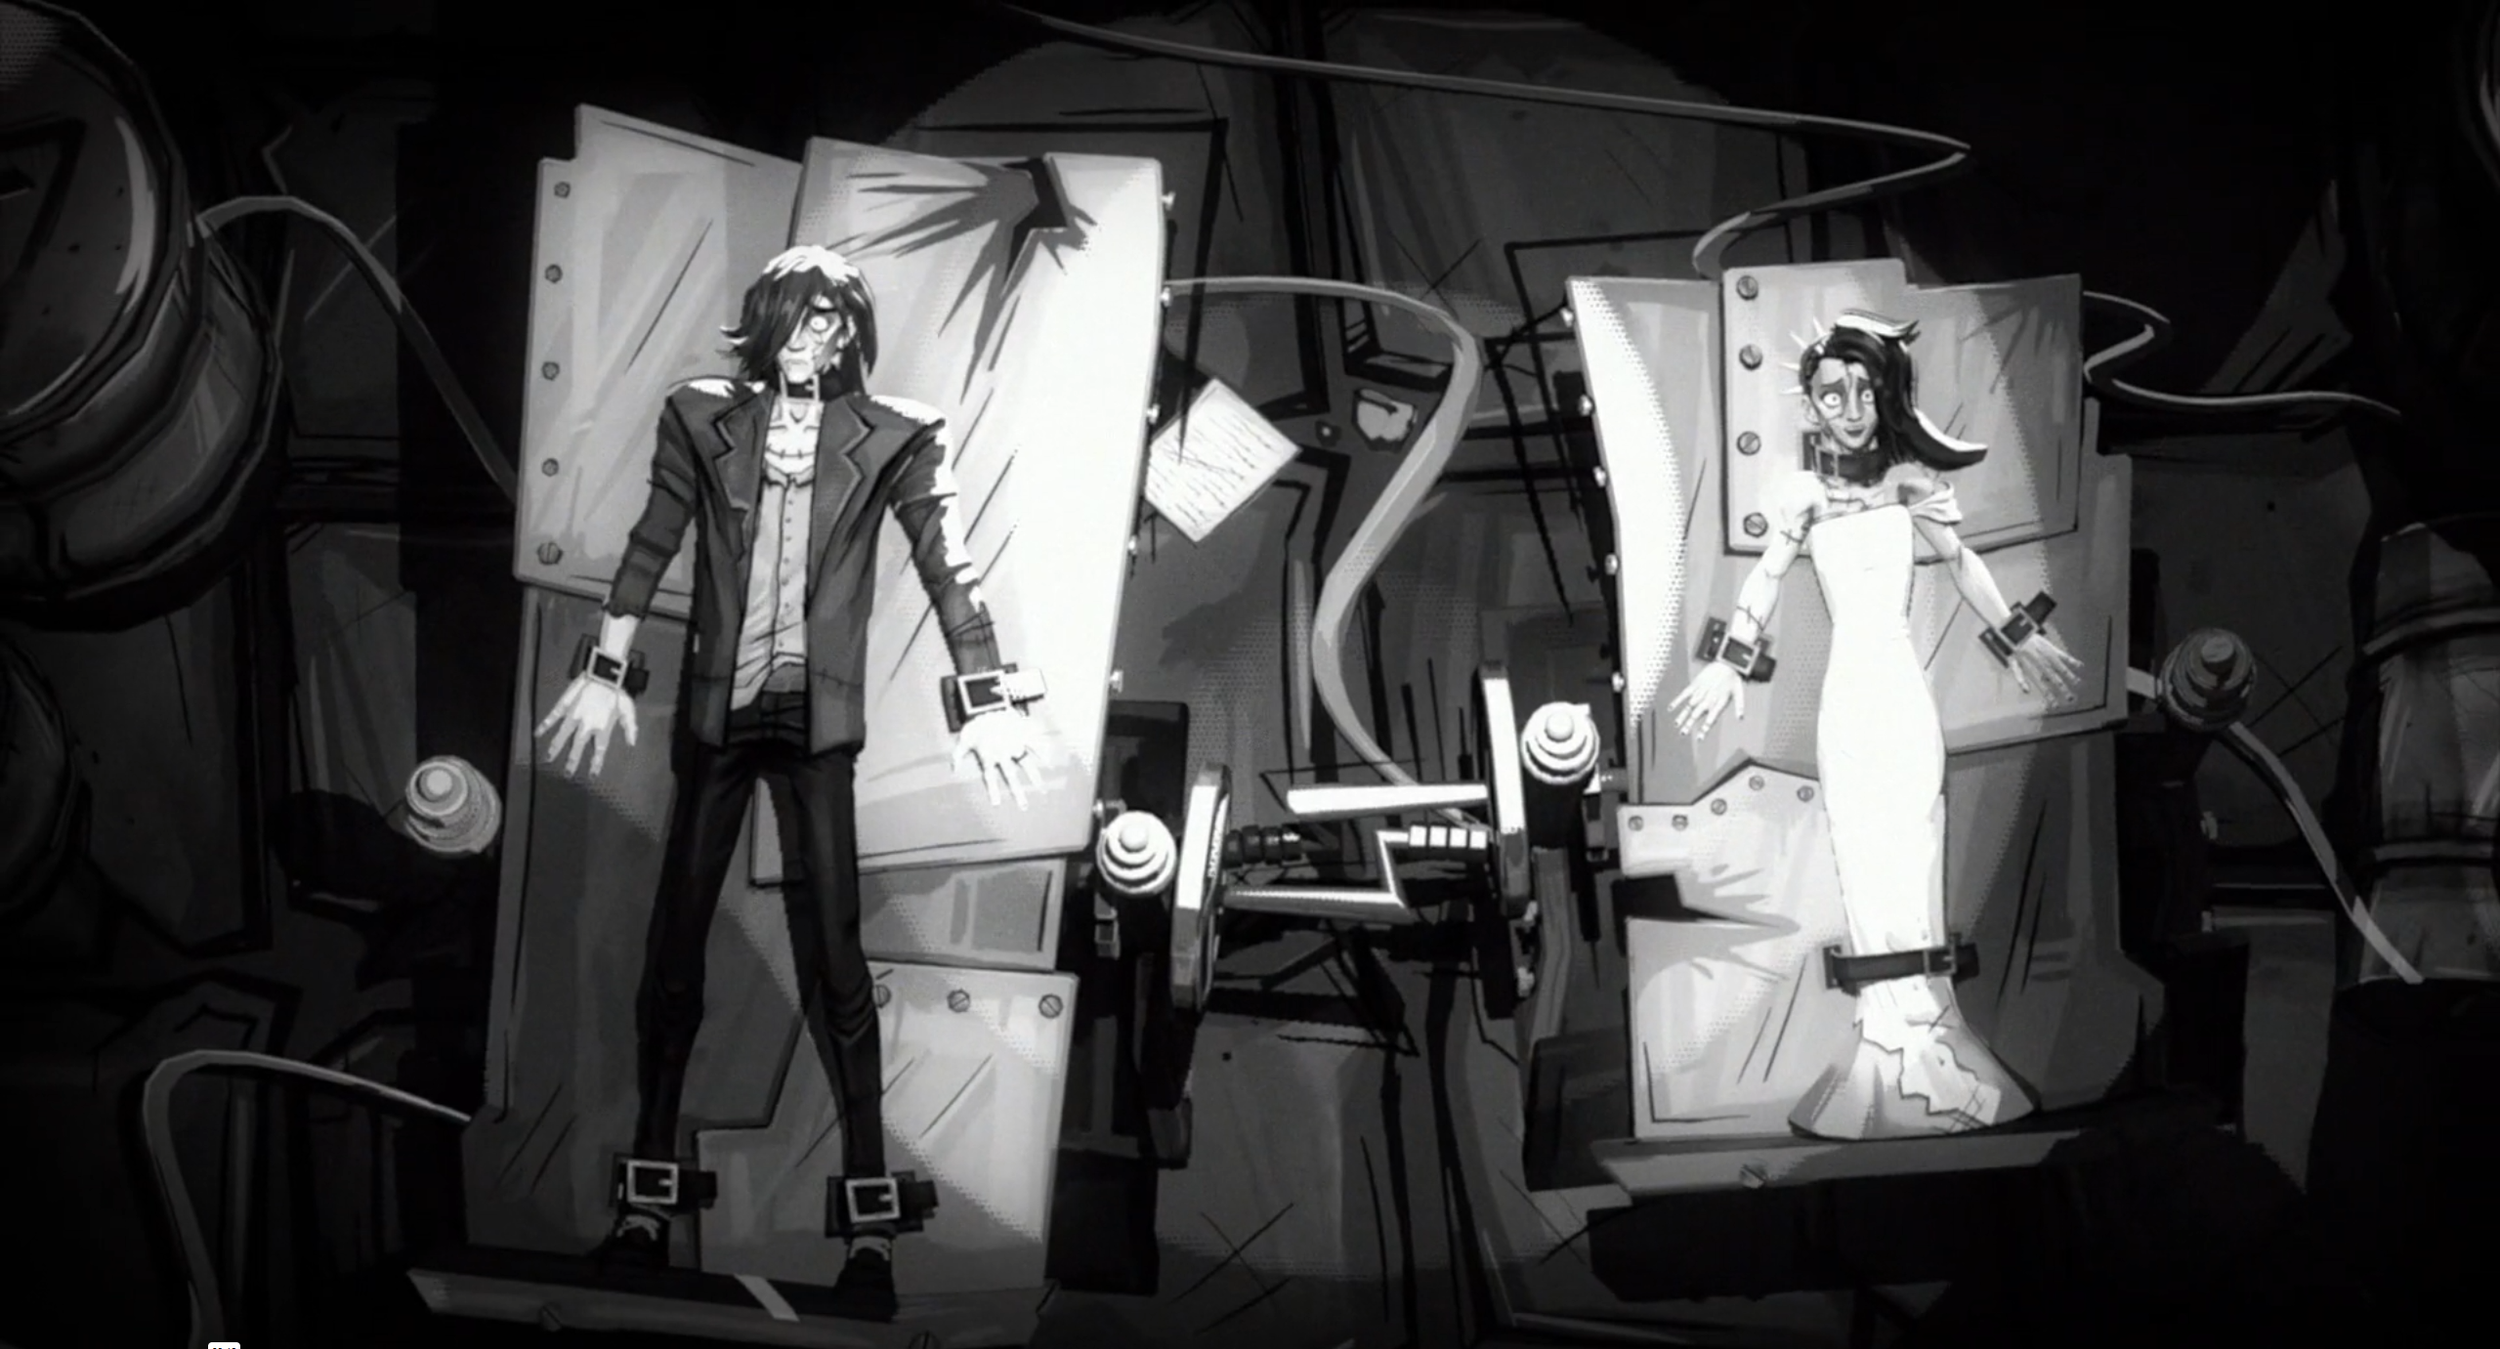
Concept Art vs. Final Frame
Style and Texture Tests
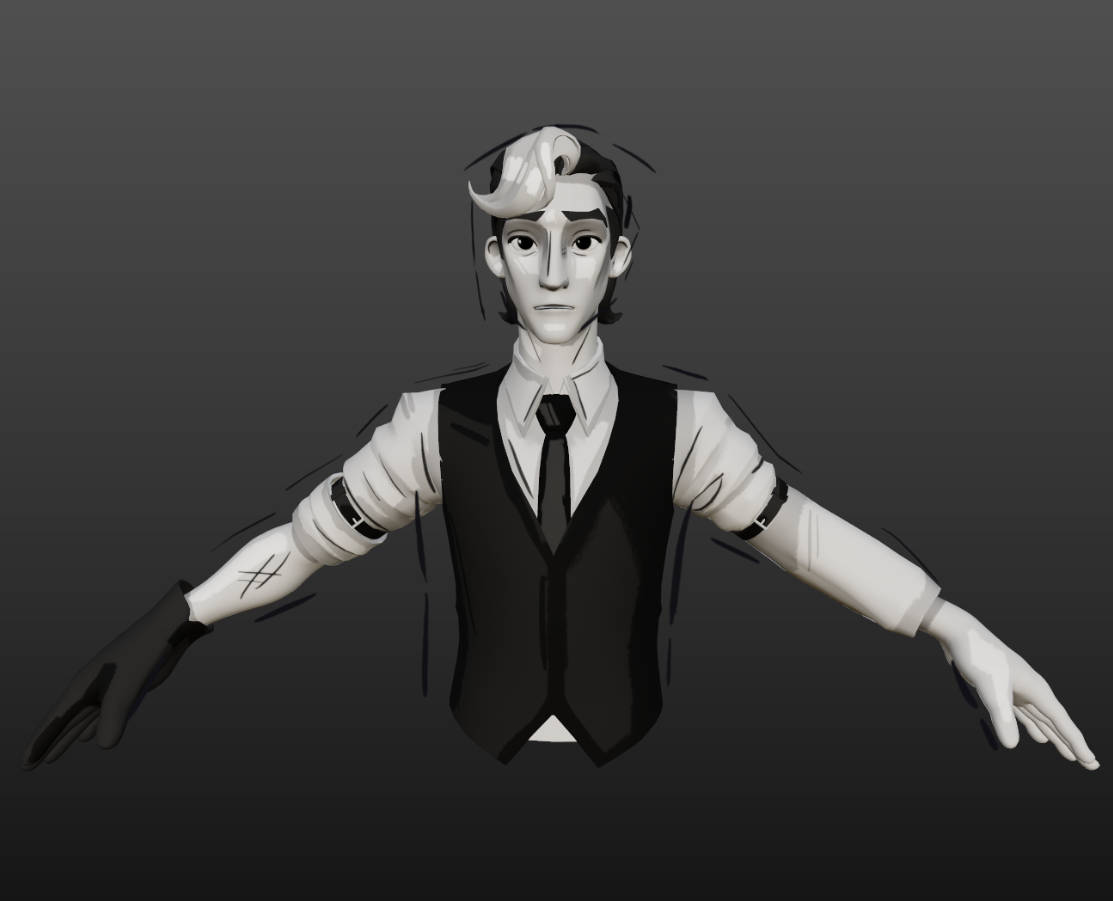

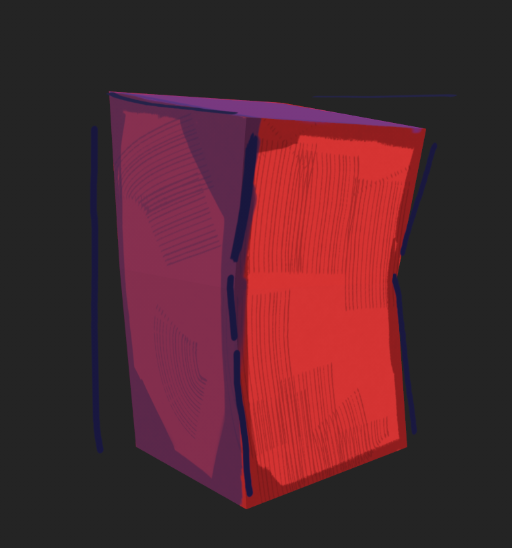


Preliminary art tests to understand the style, before production began